Get ready to level up your community. This step-by-step tutorial covers how to invite RBXBolt, authorize permissions, and integrate this powerful Discord bot into your server.
Access the Discord Bot Invitation Link
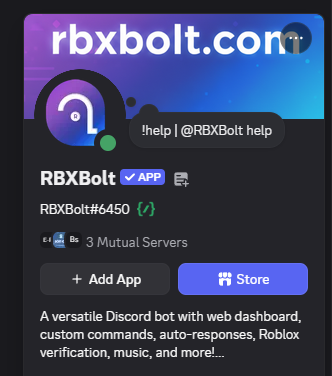
To begin, you can open the official RBXBolt bot invitation window by clicking the button below. Alternatively, if you see RBXBolt in a user profile or server member list, you can click on its profile and click the Add App button to invite the bot.
Select Your Discord Server
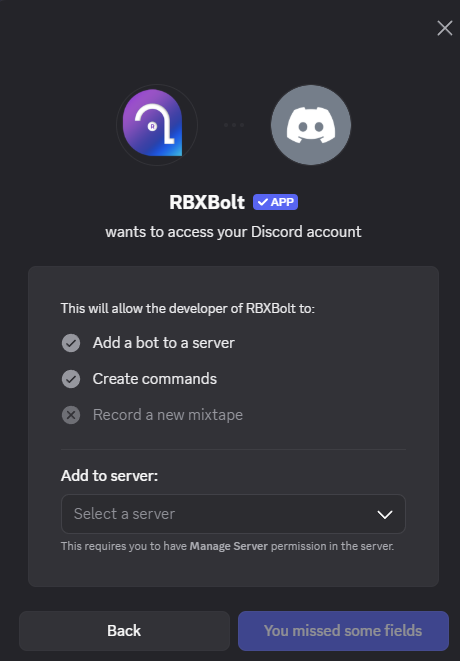
A new browser window will open requesting you to sign into your Discord account. Once logged in, choose the specific community server where you want to implement the verification system and role sync features from the "ADD TO SERVER" dropdown menu.
Review and Authorize Permissions
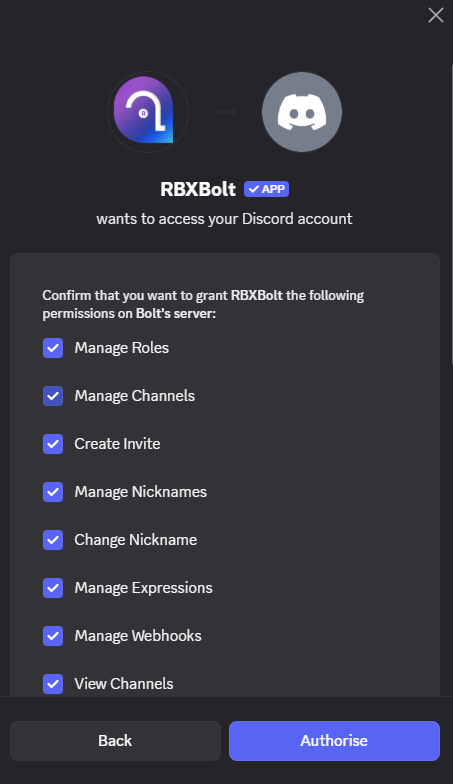
Next, you will be presented with a list of Discord permissions requested by RBXBolt. These permissions are essential for core features like automated role bindings, nickname syncing, verification setups, and custom command structures.
Review the authorization checklist and click the Authorize button at the bottom of the list.
Complete Bot Authorization & CAPTCHA
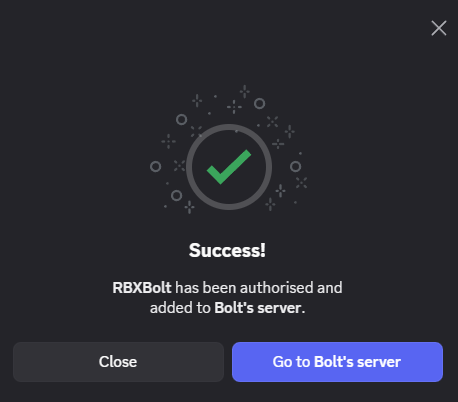
Discord might display a CAPTCHA challenge (such as checking "I am human") to prevent spam. Once completed, the window will show a success notification, and the bot will instantly join your server.
Start the Configuration
Congratulations! RBXBolt is now in your server. To begin setting up member verification, role sync, and group integration:
- Open the server in Discord.
- Type the slash command
/setupand press Enter. - Alternatively, log into the RBXBolt Web Dashboard to configure verification settings and link roles visually.
Ready to automate your Discord server management?
Invite RBXBolt today to setup roles, binds, auto-responders, and enjoy a seamless integration experience.
Invite RBXBolt Now